In Menlo Park’s luxury market, presentation is part of the product. Buyers are not just purchasing square footage; they are choosing a lifestyle with privacy, design, and seamless technology. If you are preparing to sell, smart staging can clarify your home’s value and help it stand out from a small pool of qualified, high-intent buyers. This guide gives you room-by-room strategies, costs, timelines, and local logistics so you can stage with confidence. Let’s dive in.
Why staging matters in Menlo Park
Menlo Park sits at the heart of Silicon Valley, where many buyers prioritize privacy, flexible workspaces, indoor-outdoor living, energy efficiency, and integrated smart-home features. They often compare renovated historic homes with new construction and nearby ultra-luxury markets. Your staging needs to meet neighborhood expectations and the price point.
Luxury listings here compete on first impressions across photos, videos, and private showings. Effective staging elevates scale, light, and flow while preserving architectural character. It also helps buyers quickly understand how the property lives day to day.
What local buyers look for
- Indoor-outdoor continuity with usable patios, decks, and landscaped privacy.
- Chef-level kitchens and spa-like primary suites.
- Functional home offices and reliable tech-ready spaces.
- Quality materials, natural light, and a calm, cohesive palette.
- Convenient access to area employers and community resources.
How staging shifts outcomes
Industry surveys consistently find that staging increases buyer interest, reduces time on market, and can support stronger offers. In a niche luxury segment like Menlo Park, the biggest lift often comes from differentiation: your home photographs better, shows better, and resonates with a focused group of qualified buyers.
Core principles for luxury staging
- Highlight lifestyle and architecture. Let high ceilings, millwork, and indoor-outdoor flow lead the design.
- Use quality furnishings and lighting. Scale up rugs, art, and fixtures so rooms feel intentional and appropriately proportioned.
- Keep a warm, neutral base. Add texture and art so spaces feel inviting, not sterile.
- Prioritize key spaces. Focus investment on curb appeal, kitchen, primary suite, office, and outdoor living.
- Edit with restraint. Luxury design benefits from negative space that showcases finishes and volume.
Room-by-room priorities
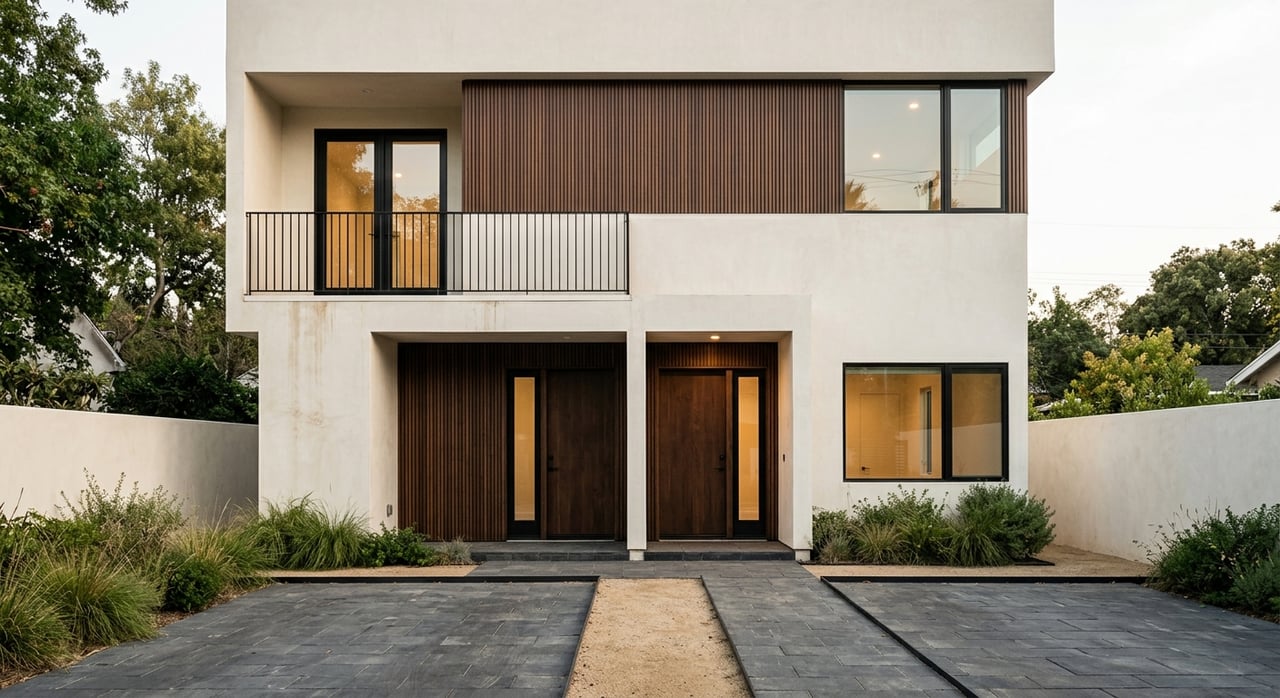
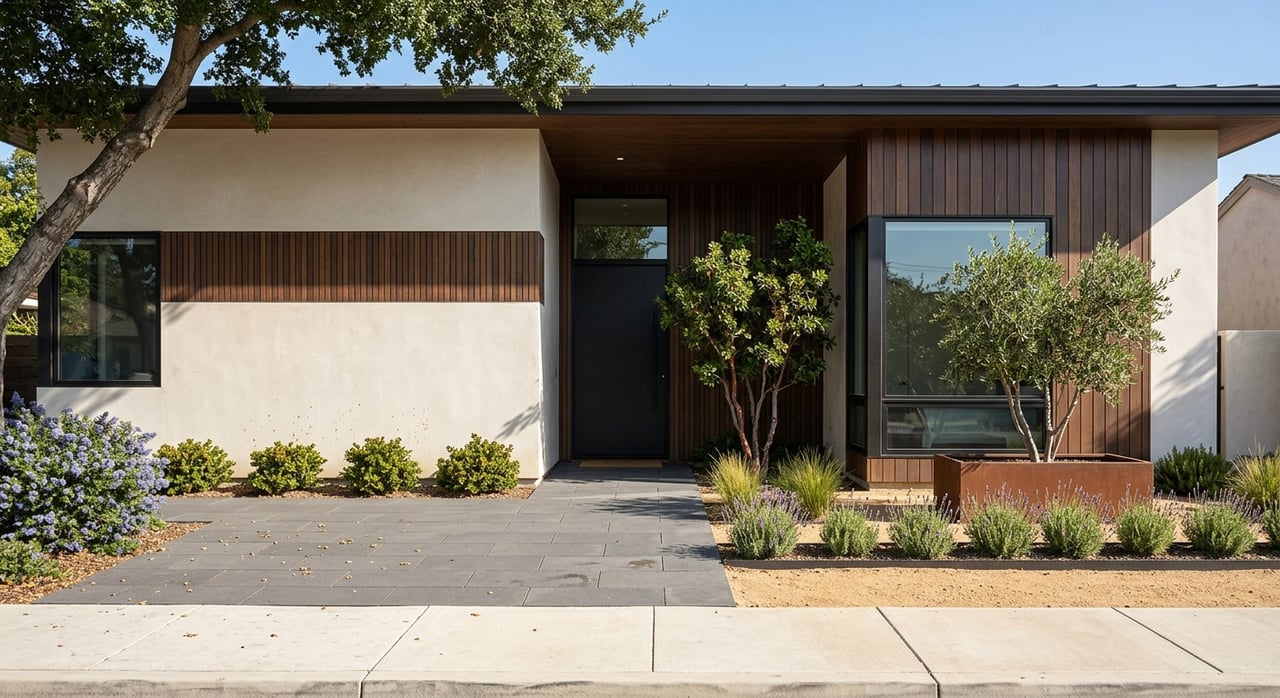
Curb appeal and entry
- Manicure landscaping, power-wash paths, refresh mulch, and update door hardware and house numbers.
- Add thoughtful exterior lighting and an understated seating vignette if space allows.
- Remove signs of deferred maintenance so the approach feels effortless.
Living or great room
- Create one or two conversation zones sized to the room, anchored by large area rugs.
- Use layered lighting and oversized art to accentuate scale and ceiling height.
- Style one area for entertaining or everyday living, depending on buyer fit.
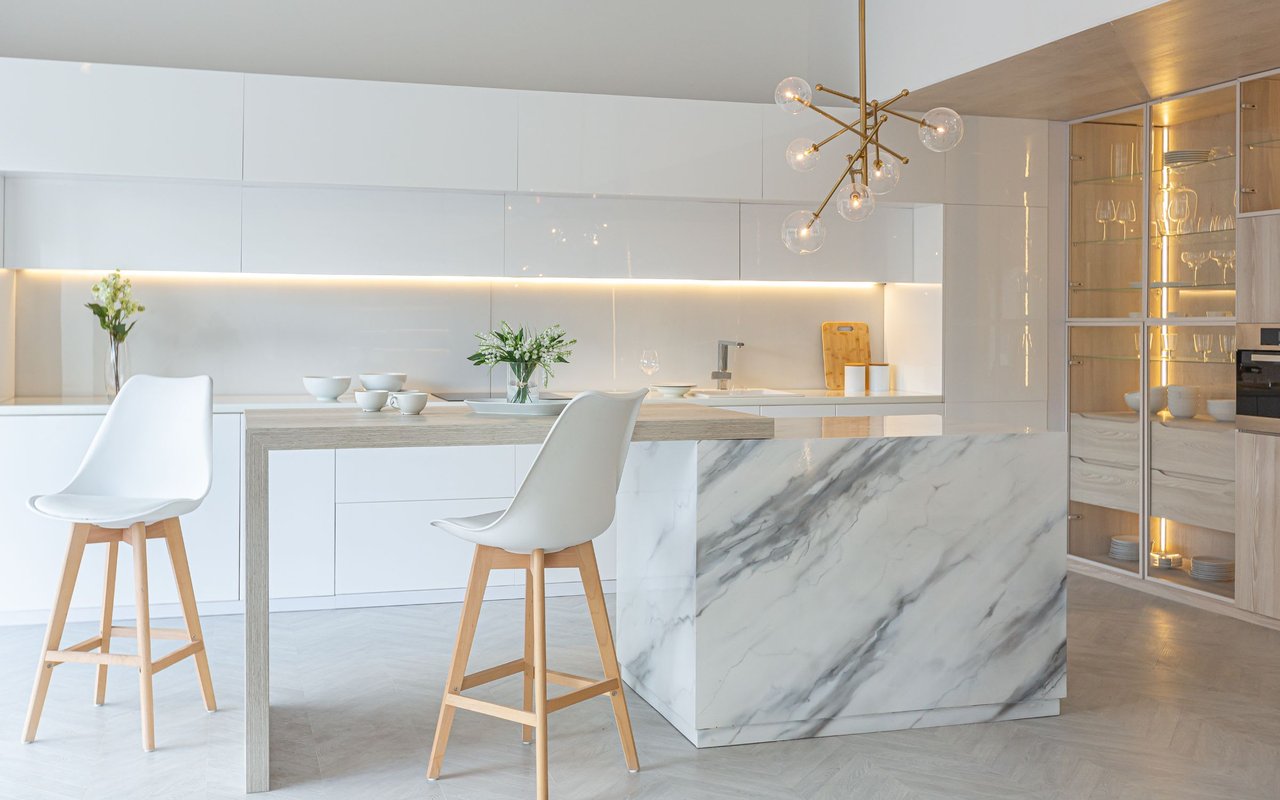
Kitchen
- Clear counters and highlight professional-grade appliances.
- Style with a few elevated accessories, such as stone boards, premium utensils, or a simple floral arrangement.
- Ensure fixtures and cabinet hardware are clean and consistent in finish.
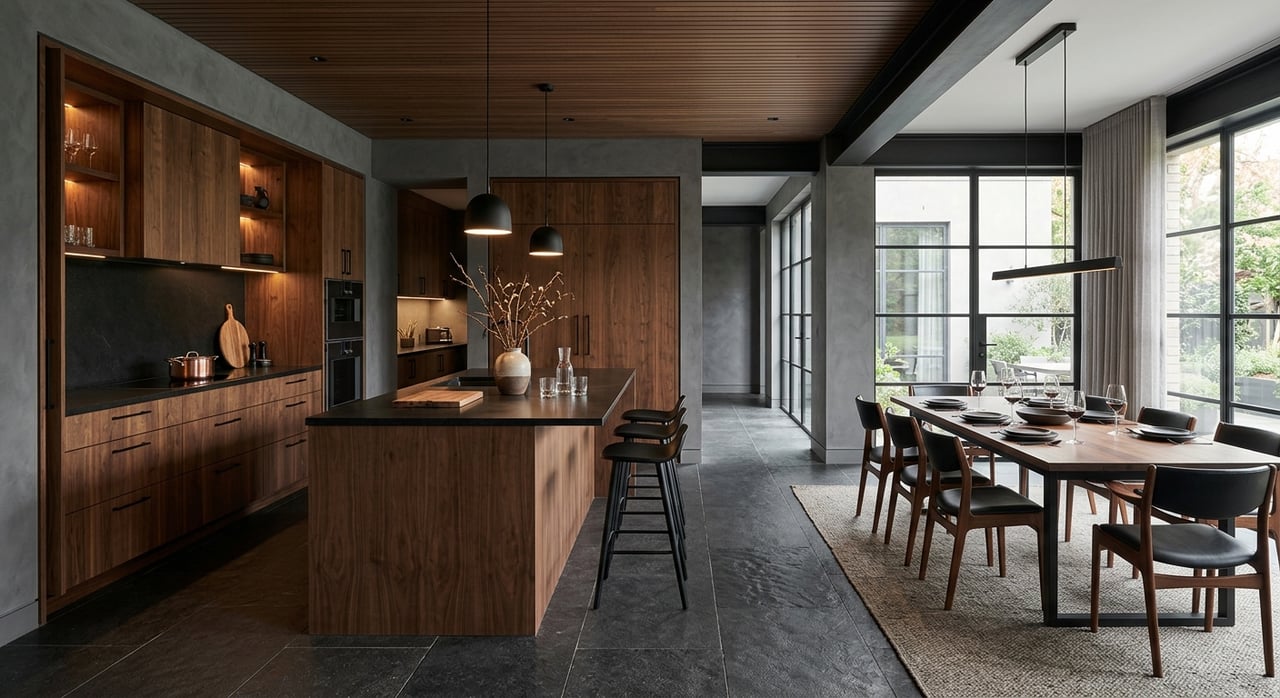
Dining room
- Set the table for 6 to 10 depending on size, with a restrained place setting and a single centerpiece.
- Use a statement light fixture and art that aligns with the home’s architecture.
Primary suite
- Make the bed the focal point with quality linens and appropriately scaled nightstands.
- Keep surfaces clear and showcase closet organization and ensuite features.
- Add a small lounge chair or bench to suggest a retreat.
Home office
- Stage a tech-ready workspace with built-in storage if available and proper task lighting.
- Keep accessories minimal and high-end for a calm, productive impression.
Bathrooms
- Present a spa feel with plush towels, neutral accessories, and spotless grout and glass.
- Remove personal items and keep surfaces clear.
Outdoor living
- Define zones: alfresco dining, lounge around a fire feature, and, if applicable, poolside seating.
- Emphasize privacy with tidy hedges or planters and landscape lighting for evening showings.
Specialty rooms
- Stage wine rooms, theaters, gyms, and guest suites to their best-use potential without over-personalizing.
- When in doubt, light staging can communicate flexibility.
Garage and storage
- Clean, organize, and show capacity with minimal but functional items.
- Make sure floors and walls are spotless and lighting is bright.
Costs, timeline, and ROI
Costs at a glance
- Consultation and design: approximately $300 to $1,200 depending on scope.
- Full luxury rental staging: often $3,000 to $15,000+ per month based on size and inventory quality.
- Accessory and styling package: about $500 to $5,000.
- Landscaping, deep cleaning, painting, and minor repairs: budget $5,000 to $50,000 depending on condition and price point.
- Professional photography, drone, and twilight: roughly $400 to $1,500.
- 3D tour or virtual scan: typically $300 to $800.
Exact pricing varies. For unique properties, selective purchases like custom art or a signature light fixture may be worth the investment.
Timeline you can expect
- Initial staging consult: 1 to 3 days from inquiry.
- Sourcing and delivery: 1 to 2 weeks for rental furnishings; custom items can take 4 to 8 weeks or more.
- Styling and photography: often completed in 1 day for photos, with final touches for showings.
- Typical lead time to list with staged assets: 1 to 3 weeks from decision to go.
Measuring ROI
Track both quantitative and qualitative results:
- Days on market compared to similar listings.
- Number of showings and open-house attendance.
- Online engagement: photo views, time on page, and virtual tour completions.
- Offer activity and sale-to-list ratio.
- Feedback from buyer agents on presentation and layout.
In Menlo Park, the most meaningful ROI often comes from standing out to a selective buyer base rather than broad market uplift.
Menlo Park logistics and compliance
Respect the home’s architectural style and neighborhood context, whether Craftsman, Mediterranean, Tudor, mid-century, or new modern. Align staging to enhance, not overpower, the design.
Plan for privacy and security. Pre-screen showings and consider controlled open houses with your listing team present. Remove or secure valuables and address smart cameras by either disabling them for showings or clearly disclosing their presence.
Confirm local and HOA rules before placing exterior signage or making temporary outdoor changes. If you use virtual staging or digitally enhance photos, follow local MLS disclosure requirements. For large showings, coordinate guest parking and consider valet or reserved spaces where needed.
Choosing the right stager and team
Look for luxury experience in Menlo Park and nearby markets. Request case studies with before-and-after photos and outcome metrics.
Verify insurance, delivery logistics, and contract terms, including rental duration and damage policies.
Ask for references from local agents and a clear plan for photography-ready styling.
Coordinate complementary vendors: professional photographer, videographer, high-end cleaners, landscapers, lighting specialists, and licensed contractors for minor cosmetic work as needed.
Partnering with a coordinated listing team ensures staging aligns with pricing, marketing, and timing.
Marketing your staged home
Use a photographer experienced in luxury composition. Plan for twilight exteriors and, where appropriate, drone footage to show lot lines and setting. Include a high-quality virtual tour so remote buyers can pre-screen the property. Virtual staging can supplement marketing for empty rooms, but physical staging usually creates a stronger in-person impression. Always follow disclosure rules for photo alterations.
Maintain the photography look for showings. Replace fresh florals, manage lighting, and keep surfaces clear so buyers see what attracted them online.
Practical checklists
Pre-staging checklist
- Declutter and depersonalize: clear closets, remove personal photos, and minimize extras.
- Deep clean and refresh: fix grout, polish fixtures, shampoo carpets, and touch up paint.
- Address maintenance and safety: gutters, minor leaks, loose hardware, and trip hazards.
- Secure valuables and sensitive documents; decide on smart camera settings for showings.
- Align on showing protocols and privacy plans with your agent.
High-impact staging checklist
- Landscape tune-up, potted plants, and a spotless entry.
- Scale-appropriate furniture to show flow and purpose.
- Statement art and large rugs to anchor key rooms.
- Minimal, elevated kitchen styling and a photo-ready pantry.
- Resort-like primary suite with quality linens and a seating nook.
- Defined outdoor zones for dining and lounge.
- Organized home office and versatile guest spaces.
- Layered lighting throughout, including lamps for warmth in photos.
- Professional photos, twilight exteriors, and drone where appropriate.
Avoid common pitfalls
- Over-personalization that narrows appeal.
- Over-staging that competes with high-end finishes.
- A style mismatch between furnishings and the home’s architecture.
- Compliance misses on signage or virtual staging disclosure.
- Lapses in privacy and security during showings.
Your next steps
Start with an expert staging consultation, then focus your budget on curb appeal, kitchen, primary suite, office, and outdoor living. Align design with your home’s architecture and the expectations of Menlo Park luxury buyers. Track results so you can measure impact in real time.
If you want a coordinated, white-glove process that blends engineering-informed prep with luxury marketing, connect with the local team that handles staging, contractors, photography, video, and 3D tours under one roof. Partner with Luxuriant Realty to simplify the process and present your home at its best.
FAQs
What does luxury home staging cost in Menlo Park?
- Most sellers budget a consultation plus full staging in the range of several thousand dollars per month, with additional funds for landscaping, cleaning, repairs, and photography.
How long does staging take before I can list?
- From consult to live listing, plan for about 1 to 3 weeks, depending on inventory availability, styling scope, and vendor coordination.
Which rooms deliver the best staging ROI locally?
- Curb appeal, the kitchen, primary suite, a functional home office, and outdoor living areas typically offer the greatest impact on buyer perception.
Is virtual staging acceptable for Menlo Park listings?
- Yes, virtual staging can support marketing for empty rooms, but you should follow local MLS rules by disclosing any digitally altered photos.
Do I need permits for outdoor staging updates?
- Simple cosmetic updates usually do not require permits, but check Menlo Park and any HOA rules before adding signage or temporary structures.
How do I protect privacy and security during showings?
- Pre-screen buyers, remove or secure valuables, and either disable or clearly disclose smart cameras while coordinating controlled access with your listing team.